Blog Archive

Wednesday, January 2, 2013

A Lul in Blogging

I haven't been posting in the blog as often as I want to,  I got a job in June doing alterations and I've been busy with school as well  I've been debating transferring this blog over to Tumblr for easier following/sharing.  The URL for that is here

I've been posting a lot of my completed projects on Instagram and on my Facebook page, so you can follow me on there and get updated on my projects and store items.

If you are interested in my Store I have a lot of hats for sale on there (listed as preorders, they are made to order, so it takes up to a week after the payment confirmation to ship because of the times it takes for construction)

Here are a few of the projects I've completed in the time between my blog posts:


Friday, August 3, 2012

Ruffle Skirt and Pleated Shirt

I know, I'm really bad at this whole blog thing sometimes, but I've got a good reason for it.  about 2 months ago I got a new job at Stitch It, the tailoring company as a seamstress part time and I just finished semester 2 of the fashion design program at my college.


I just wanted to update you on some of the things I did this semester in school, it was a pretty intense 12 weeks, the last 5 especially.  we ended up making 3 complete garments, that had to go together, and I have been posting 2 of them all around the internet. I don't want to bog this down too much with writing, but I have posted photos of both garments on the dress form and on myself, the shirt is a little tight on me, but I can rock it :)

Each student had to design, draft, sew a muslin, adjust patterns and then resew in fashion fabric a skirt, shirt and pants, these are the shirt and pants.

the only thing I don't like about the shirt is that on the good version I sewed the pleats backwards, I'm gonna have to fix that (I didn't actually realize they were backwards for weeks and not even when I handed them in.)

Thanks for reading.. In the next few weeks I will probably be posting the mod cloth rip off dress that I promised months ago, I just have to pick the right fabrics.

Wednesday, January 18, 2012

Been Busy

I know I said I was going to make a tutorial on how to recreate a modcloth dress and do a whole series on it.  I'm taking a break on that because I am starting to get really busy with both moving and restarting school.  I think the next time I get a break on school in late February,  I'll create a post on some stuff i'm going to be making in the next few weeks.  With 4 days a week of classes and the homework that i'm expecting to get, plus packing right now is really a  strain on my life, adding to that a blog for now is too stressful. I'm sure there's not a lot of people reading my blog right now, but I'll at least try to keep posting whatever projects i'm working on on my facebook page until I get settled and the semester is over in April.

Monday, December 12, 2011

Blogging Break

I am really sucking at this whole blogging thing sometimes.  I am currently busy with my job at Williams-Sonoma until about Christmas Eve, so I doubt that I will be able to work on my Mod Cloth Rip Off series until Christmas Day, when everything slows down.  I've been getting orders for knitwear (my viking hats) and I have 2 new ones to make.  I did 3 recently


I modeled this one because I didn't get the customer shot.

Oddly sans beard - it's tucked up into the hat.
and I'm so happy that it takes me less time for every hat I do, the last one (^) only took me 12 hours (haha only...

The tutorial for this tiny top hat
will probably be posted soon as well, I shot the tutorial a while ago, but I didn't get around to posting/finishing the hat (I may have missed the final construction shots for this though - for the top circle and ribbon/feather detail)

I also was hired to make this pair of what I have dubbed EarMuffins, despite the fact that they are cupcakes


They are transferring ownership in the next couple weeks, and I may redo the cherries before then, because they stick out just a little too much.

As for the Plum Rose dress I promised, I've got my fabric picked out, I've been reading the specs to make sure that the dress I make will have the same give as the ModCloth one does, but mine will be in blues, because that's what I have on hand.

I do apologize for not posting as often as I'd like, but this does give whoever is or will follow the modcloth series, ample time to create the 4 blocks that I did, and tweak anything necessary.

-Taylor

Saturday, December 3, 2011

Drafting a Skirt Block - Tutorial

I decided that with the 2 sets of skirt block instructions in my book, that I would show how to create the simpler of the 2 blocks, one that I'm more familiar with from drafting class in school.  The original skirt block in the book has 2 darts in it, but for the sake of keeping this simple, I went along and created a block with a single dart (it's a lot closer to industry standards, and much easier to work with and manipulate).

Materials needed:
Yard stick or long clear ruler (mine's 18 inches)
French Curves (a dinner plate can work in some places)
Pencil and Eraser
Wrapping Paper*
Measurements (tutorial here)

*I use wrapping paper because it's wide enough that I can do my front and back blocks side by side, but it's also helpful to use wrapping paper because printer paper won't be long enough or wide enough to accommodate the widths we're working with.*

The Basic Sleeve Block

Measurements Needed:
Full Hip - Front Waist Width - Back Waist Width - Back Hip - Side Hip Length - Back Dart - Front Fart - Dart Start


1. Divide your Full Hip measurement in half and add 1 inch. Draw a rectangle with this number as the width and your Side Hip Length as the length of the rectangle.  Label the left side "Center Back," the right side "Center Front" and the bottom as the "Hip."


2. Divide your Back Hip measurement in half and add 1/2 inch,  Measure this distance over from the Center Back along the top and bottom edges, marking with a dot on both lines and connect the dots together, labeling this line "S."


3. Divide you Back Waist measurement in half and add it to your Back Dart measurement and add 1/4 inch.  Measure this distance from the center back along the upper edge. Mark it with a dot.


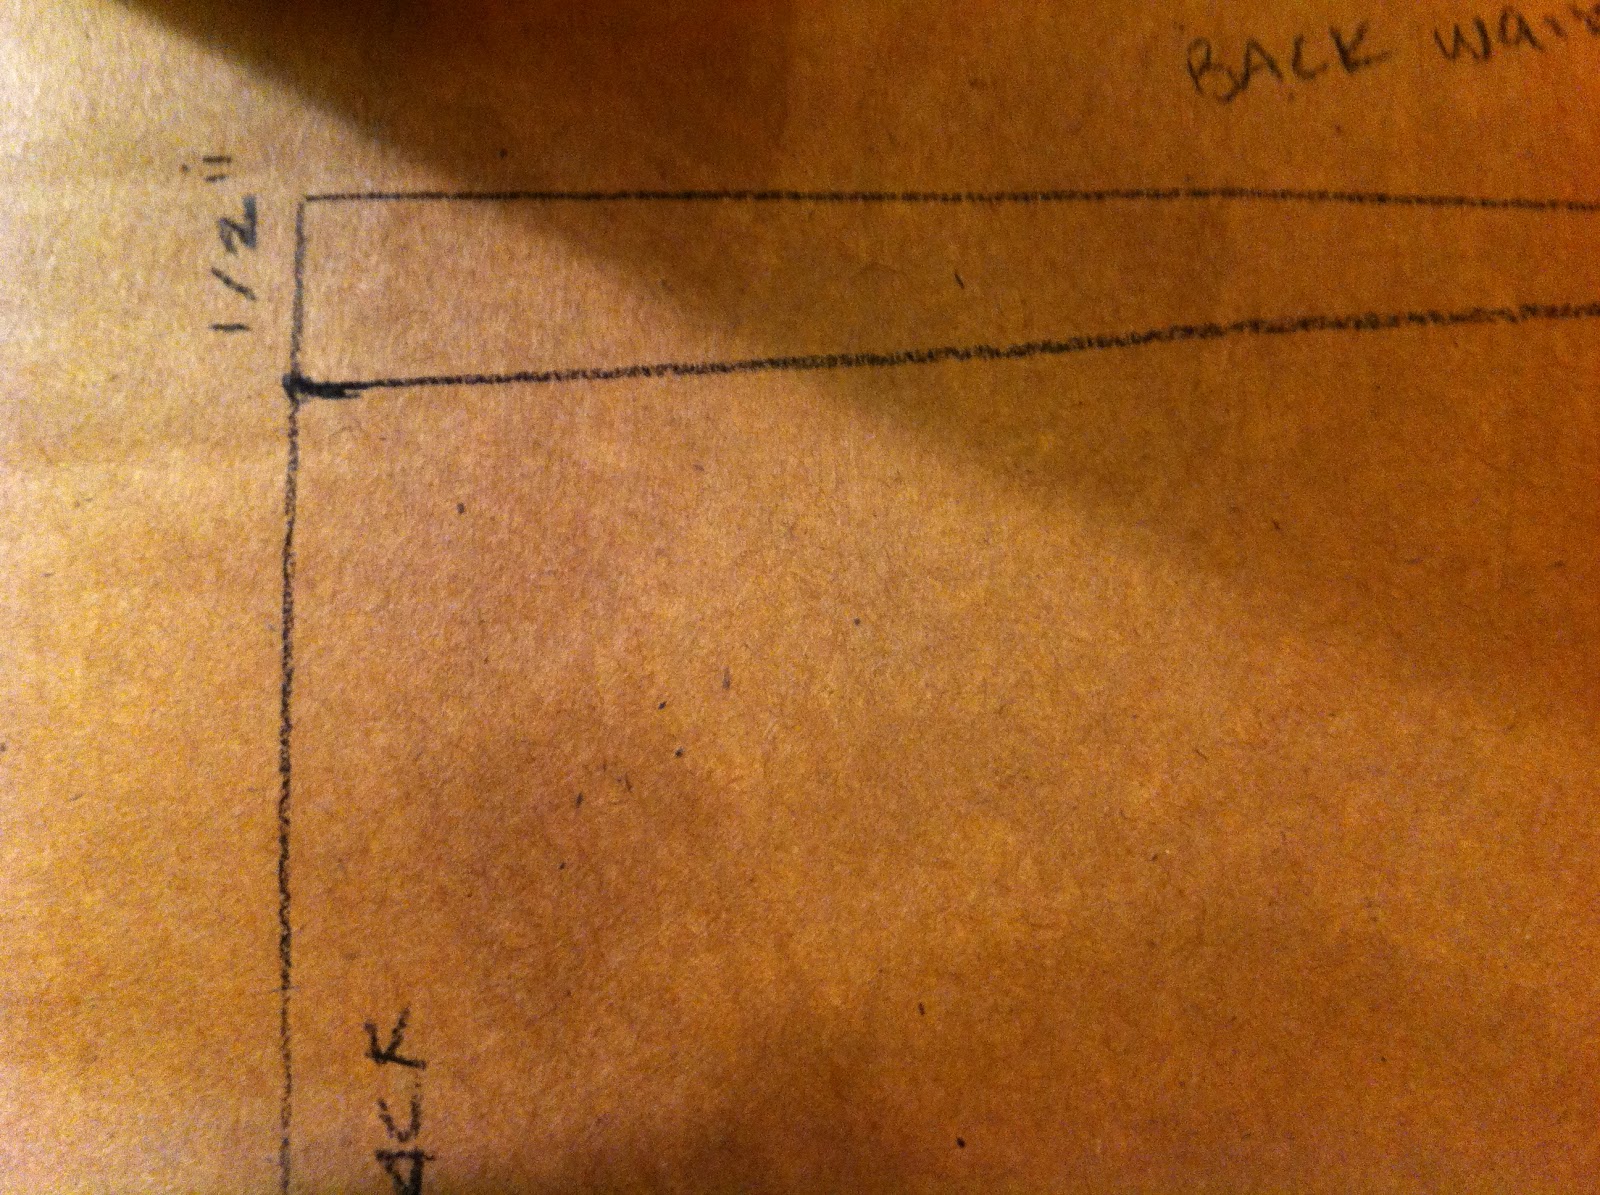
Measure down 1/2 inch from the top edge along the Center Back, being sure to square off the center back, connect these two marks with a curved ruler.


Divide your Front Waist measurement in half, add your front dart measurement and 1/4 inch.  Measure this distance from the Center Front, mark a dot.


Measure down 1/4 inch from the top edge along the Center Front, square the center front corner and connect with a curved ruler as in the previous photo.


4. Use a curved hip ruler to connect the dots at the end of the waist to the S line. The straight portion of the ruler should be on the S line (a hip rule can be found at most sewing stores)


5. Divide your Back Dart measurement in half and add this calculation to the Dart Start measurement plus 5/8 inches.  Mark a dot this distance from the Center back along your waistline.  Divide your Front Dart measurement in half and add this to your Dart Start measurement plus 5/8 inches.  Mark this distance along the waistline from the Center Front with a dot.


6. Draw a 41/2 inch line paralel to the Center Front and Center Back lines from each dot along the waistline.


7. Add your Front and Back dart measurements together, divide this number by 4 and measure this calculation on either side of the dots along the waistline.  Connect these new dots to the bottom of the line to create your dart legs. Draw the dart leg closer to the outside of the skirt first and measure that line, draw a second dart leg with the other dot, extending the second dart leg if necessary and redrawing the waistline slightly, and blend the new line into your previous waistline.


8. Extend the lower edge of the pattern to the desired length.  for the purpose of the tutorials, I extended my skirt block to knee length, for the rip off series, This is the length I would recommend. (You can extend later and shorten as well.)

The Plum Rose Dress from Modcloth is going to be the first dress I recreate for the Modcloth Ripoffs.  (I took a poll from my friends online on what the first dress I would make was - This won)

Stay Tuned.